Export order form
You can export an order form to Excel to fill the quantities for the exported order lines, then import the form back to T1 Studio.
To export order forms, follow these steps:
- Click Export, then select “Order Forms” and click Next, the following window appears:
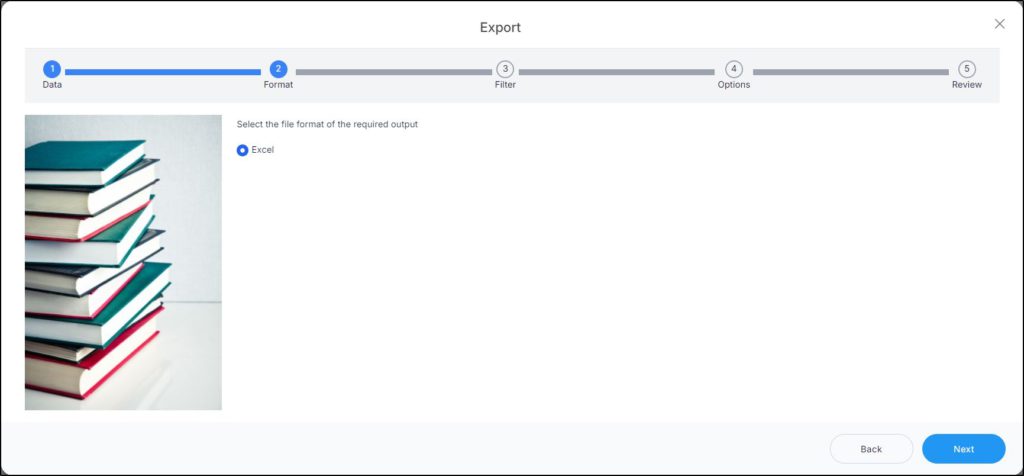
- Click Next, the following window appears:
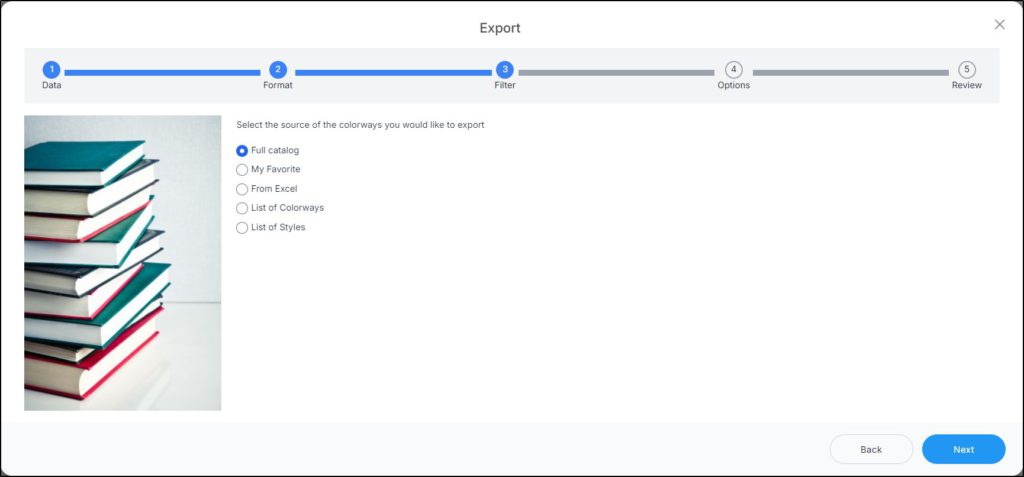
- Click the radio button next to the option you want:
- If you select “Full catalog” all the colorways are exported.
- If you select “My favorite”, a dropdown menu appears to enable you to select the favorite tags you want.
- If you select “From Excel”, you need to browse for the Excel file containing the colorways, select the sheet and map the columns.
- If you select “List of colorways”, you need to paste a list of colorway numbers.
- If you select “List of styles”, you need to paste a list of style numbers.
- Click Next, the following window appears:
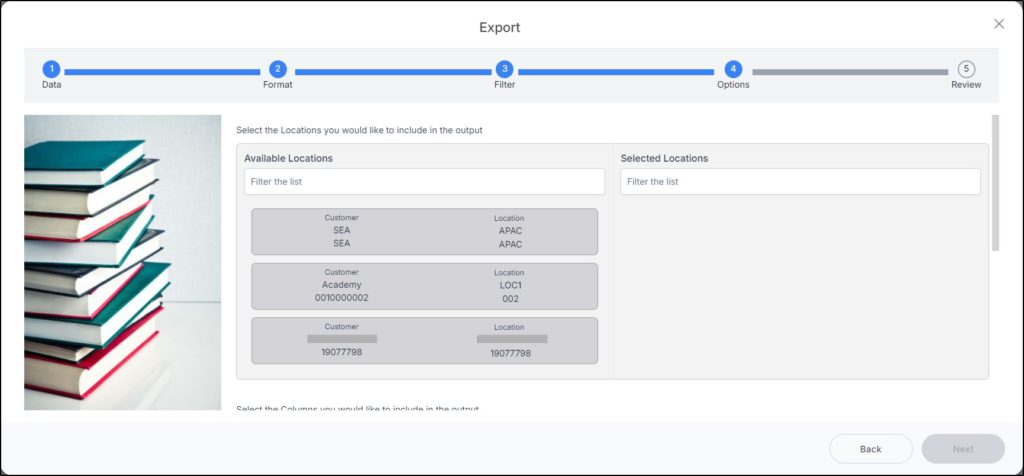
Customers and locations are listed in the left side of the window and you can use the filter field to search by location code, location name, customer code, and customer name.
- Click the location to which you want the order to be copied, it is moved to the selected locations box,
- Click the column you want to include in the order form, you can also drag and drop those columns, you can drag and drop columns to change the sequence in which they appear in the exported Excel sheet.
- Click the slider button next to “Include Images” if you want the order form file to have article images,
- Click Next, the Review window appears:
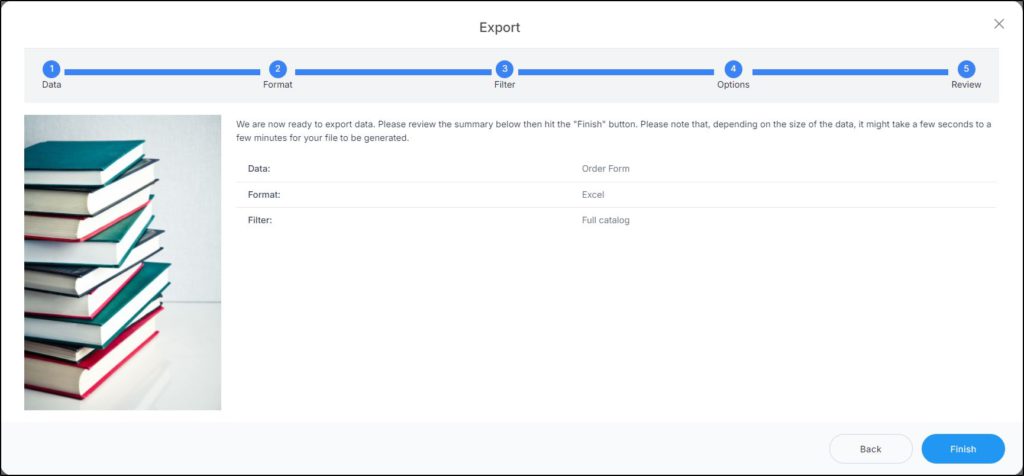
- Click Finish, a window appears to enable you to enter the file name and the location where you want to store it. If you selected to include images, progress for downloading the images is displayed.
The exported order form appears as follows:
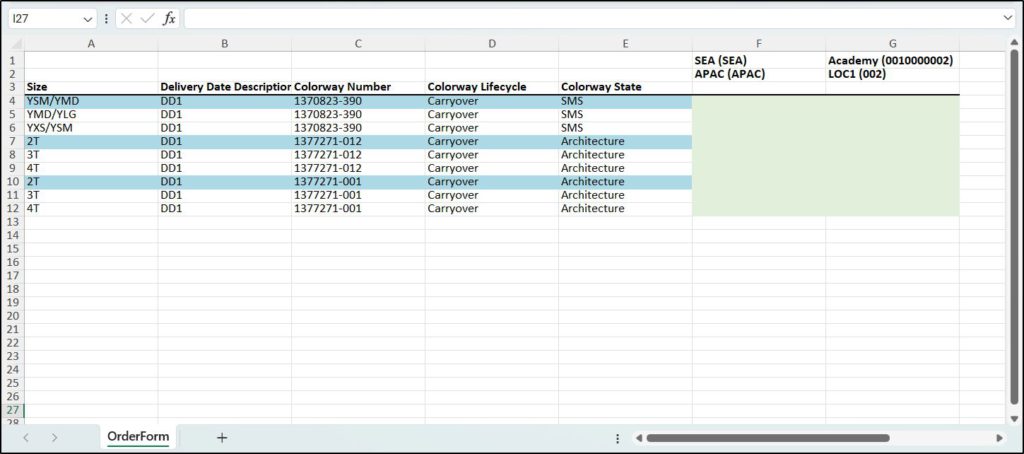
The sheet lists the selected set of colorways along with their sizes, delivery date descriptor, and other attributes. The first row of the sheet contains the customer name and customer code, while the second row contains the location name and location code. Each location has a separate column. The third row displays the column headers for the order data plus empty fields that are allocated for the order reference. The first row of each article size and delivery date is highlighted. To overwrite an order, you can fill the field with its order reference to overwrite it.
If the customer is not assigned to the same segmentation of the article, the location column appears highlighted in grey and quantities cannot be entered, otherwise, it is highlighted in light green as shown above.
You can fill the quantity you want to order next to each size, then save the Excel file. This form can be imported to the system to add the order.