Export colorways
You can export the whole catalog, your favorite colorways, a list of colorways from an Excel sheet, or a set of colorways or styles along with their attributes, into PDF, Power Point, Excel files.
To do so, follow these steps:
- Click Export then select “Colorways”, then click Next, the following window appears:

- Select the format to which you want to export the articles, if you select Power Point, a new menu appears to enable you to select the template. These templates are managed by Trasix Support team. If you select Excel, you can select the attributes you want to include in the output file,
- lick Next, the following window appears:

- Click the radio button next to the option you want:
- If you select “Full catalog”, all the colorways are exported,
- If you select “My favorite”, a dropdown menu appears to enable you to select the favorite tags you want,
- If you select “From Excel”, you need to browse for the Excel file containing the colorways, select the sheet and map the columns,
- If you select “List of colorways”, you need to paste a list of colorway numbers,
- If you select “List of styles”, you need to paste a list of style numbers,
- Click Next, the following window appears if the selected template is Standard with Power Point format:

- Select attributes you want to use for grouping the articles, you can select up to 3 attributes. Click the attribute again to deselect it. You can also group by favorite tags,
- Select the attributes which you want to display by clicking the field and then the attribute,
- Select the attribute according to which you want to sort the colorways, if you want, you can also sort the colorways using the favorite tags,
- Select the size in which you want to add the images,
- Select the frame size, the selected size appears above the frame within the toolbar and can be changed,
- Click the slider button if you want to include the inactive colorways,
If the selected format is Visual line builder, the Options window appears as shown below:

- Select the row label attributes, and the column label attributes, you can select up to 3,
- Click the slider Group by model slider, if you want the generated frames to contain the style thumbnails and attributes,
- Select the colorway attributes which you want to display,
- Select the number of columns you want in each slide, by default it is “1”, and you can add up to “6” columns,
- Select the size in which you want to add the images,
- Change the font size for the horizontal and vertical axis labels, if you want by clicking the arrows,
- Select the frame size,
- Select the attribute based on which articles are grouped, if you want,
- Enter the frame title, if you want,
- Select the attribute(s) based on which colorways are sorted – ascending or descending, then select the order in which you want the colorways to be sorted,
- Click the slider button if you want to group articles by model,
If the file format selected earlier is Excel, the following window appears:
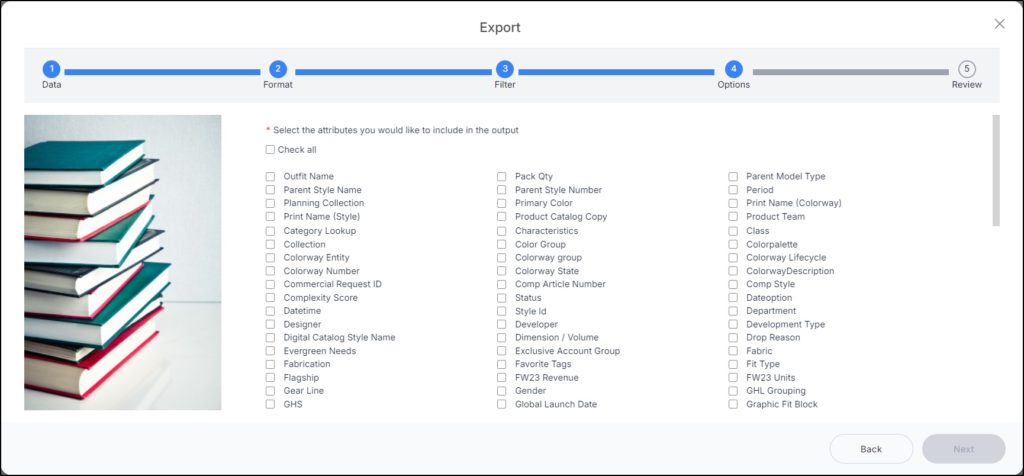
- Click the checkbox next to the attribute you want to include in the file or select “Include all Attributes” to add them all,
- Click the slider button to include images, if you want,
- Click the slider button to include inactive colorways, if you want,
- Select whether you want to list the favorite tags, each on a separate row, this option is only available if you select the checkbox next to Favorite Tags,
- Click Next, the following window appears:

- Click Finish, a notification appears informing you that the generated file is ready for download as shown in the below example:

When the notification is clicked, you can select the location in which you want to save the file on your machine.
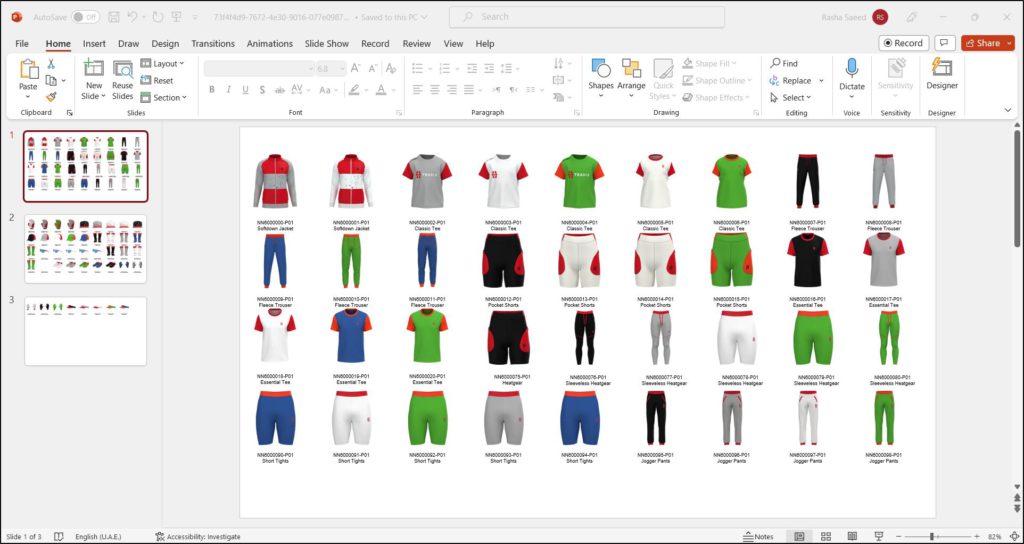
The Power point file with Standard template appears as shown in the below example:
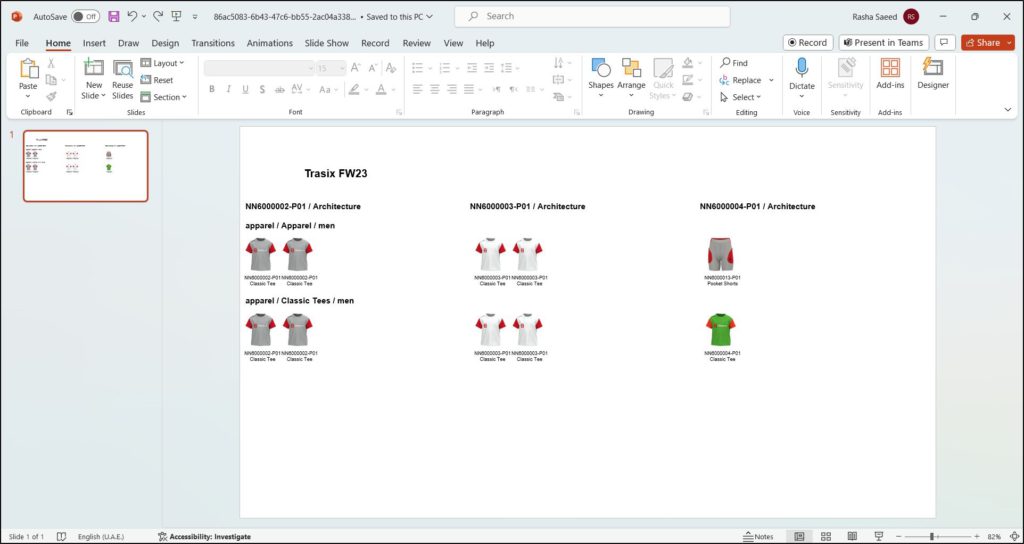
If the selected template is Visual line builder, the file appears as shown in the below example:
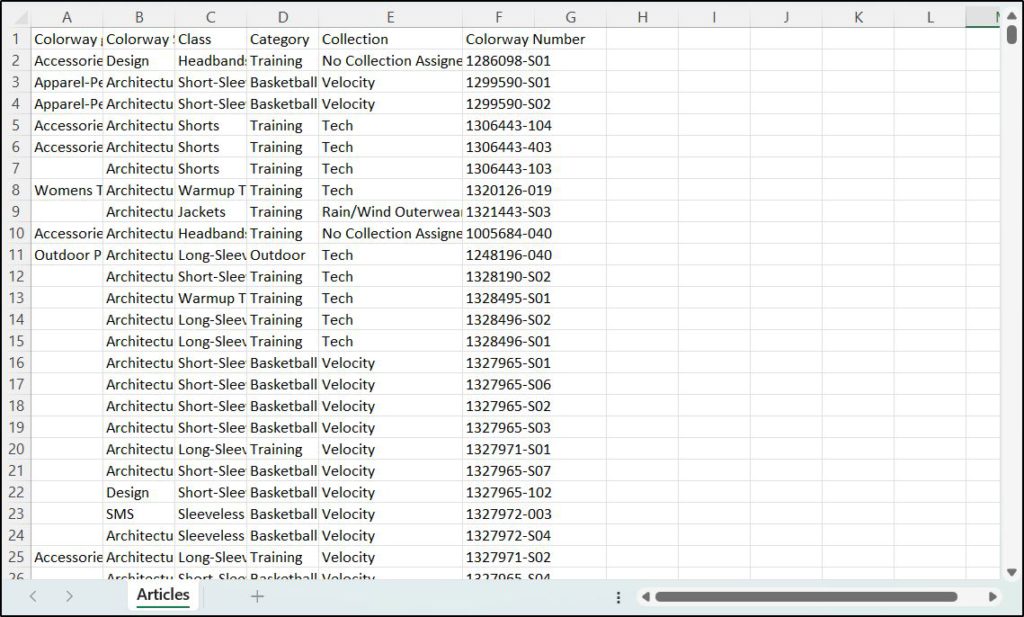
If the selected file format is Excel, the file appears as shown in the below example: