Import articles
You can import multiple articles to T1 using the Import function, this will save time and effort needed to add a large number of articles to a catalog. Make sure to have the articles listed in an Excel sheet with the following columns: article number, article name, status (optional), sort order, article attributes such as color, gender, and weight, and whether you want to show or hide the article image in T1 Studio. Below is an example:
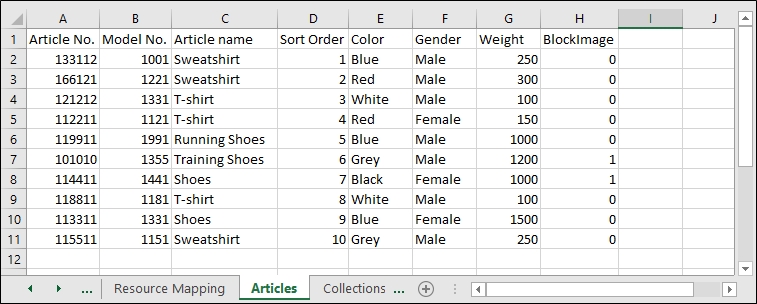
Please note that article numbers should not contain spaces.
Notes:
- If retail windows are imported, make sure to include the full name copied from the Retail Windows tab of the Catalog, for example: Window 1(1/1/2018 12:00:00 PM-12/31/2018 12:00:00 PM).
- If the selected catalog is a line plan, you can import a file with articles and the import process will either update the articles if the article number exists or create a new article with article number NN-xxxxxx (where xxxxxx is a 6 digit number). Article number is optional.
- If Sort Order value is not provided, it is “0” by default at the time of creation.
- Values for attributes that are set as model level attributes for the catalog cannot be specified through the import process. For more information, refer to “Update via Import (Model)“.
To import a file with articles, follow these steps:
- Click the Import button, the following window appears:
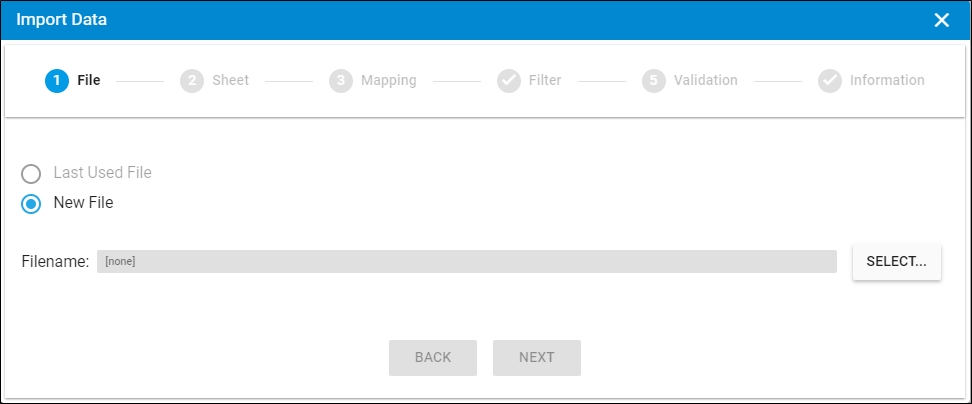
- Click Select to browse for the file you want to import,
- Select the file then click Open, the name of the file you selected appears in its field, click Next, the following window appears:
You can click Back to return to the previous window.
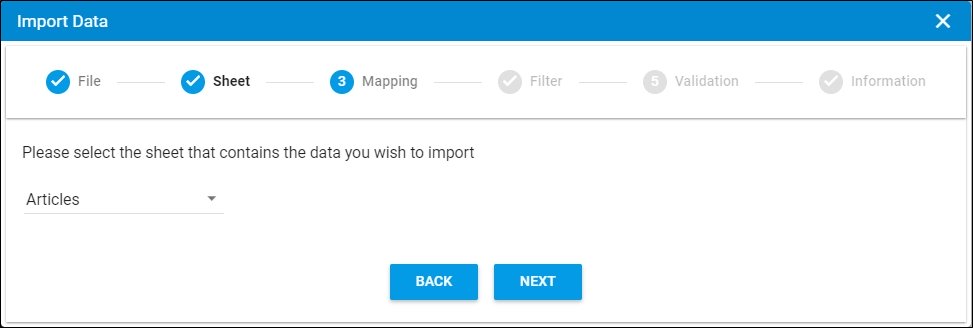
- Select the sheet you want from the dropdown list in case your Excel file contains more than one sheet, then click Next, the following window appears:
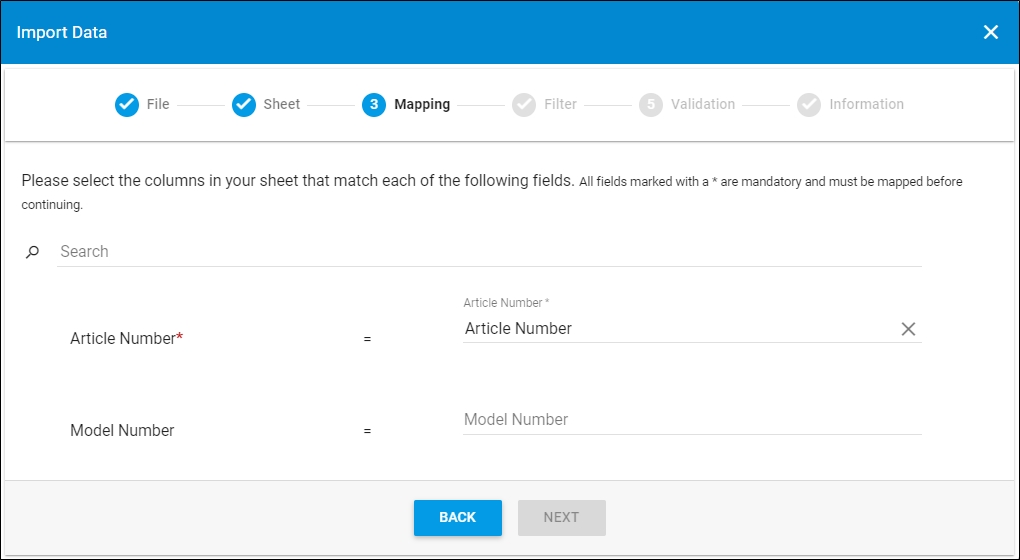
- Select the column of the sheet that matches each field, you can search for the field you want using the search field, then click Next, the following window appears:
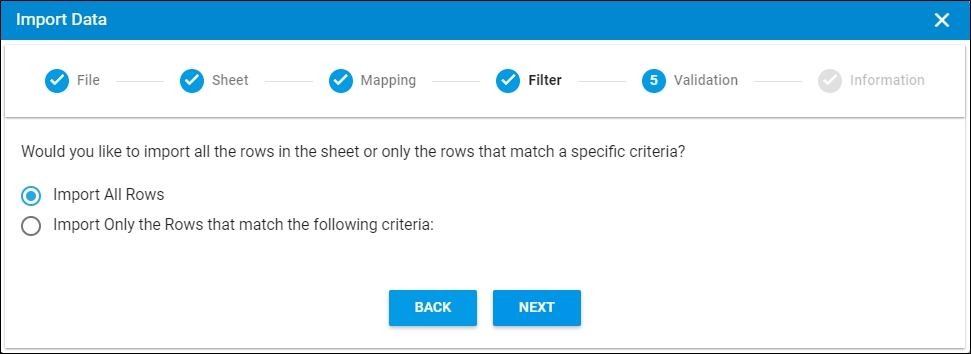
- Click the radio button next to the import method, either all rows or rows that match certain criteria, a validation window appears informing you if records are valid or not, if not, you need to fix the sheet then import the file again,
- Click Next, the following window appears:
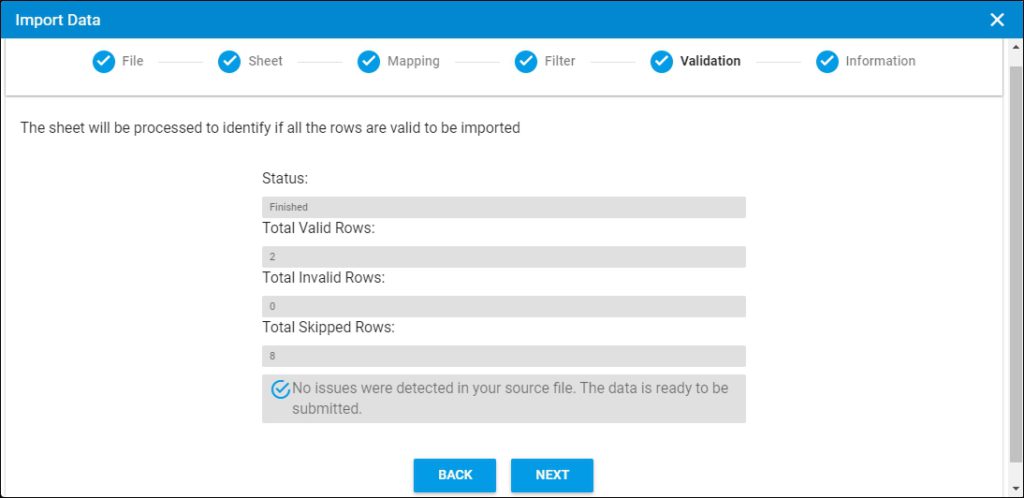
The validation window shows the status of the import process, the total number of valid rows, and the total number of invalid and skipped rows. The above example shows that all the rows are valid.
If there is an error in the sheet you are trying to import such as empty article numbers, the validation window will show an error. Make the necessary changes and import the sheet again by closing the import dialog and clicking the Import button then continue with the steps mentioned above.
- Click Next, the following window appears:
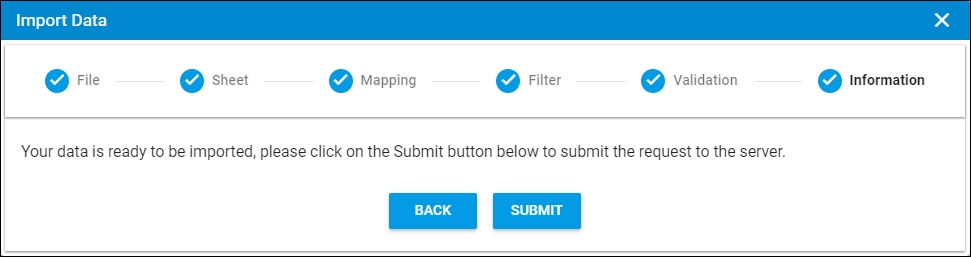
- Click Submit, the progress is displayed,
- Wait until the job is finished, then refresh the page, the imported values are listed.
Notes:
- If changes are not reflected on the page, refresh the browser by pressing F5.
- If any of the records are invalid, you can skip them by clicking the checkbox next to Skip invalid rows as shown in the below example:
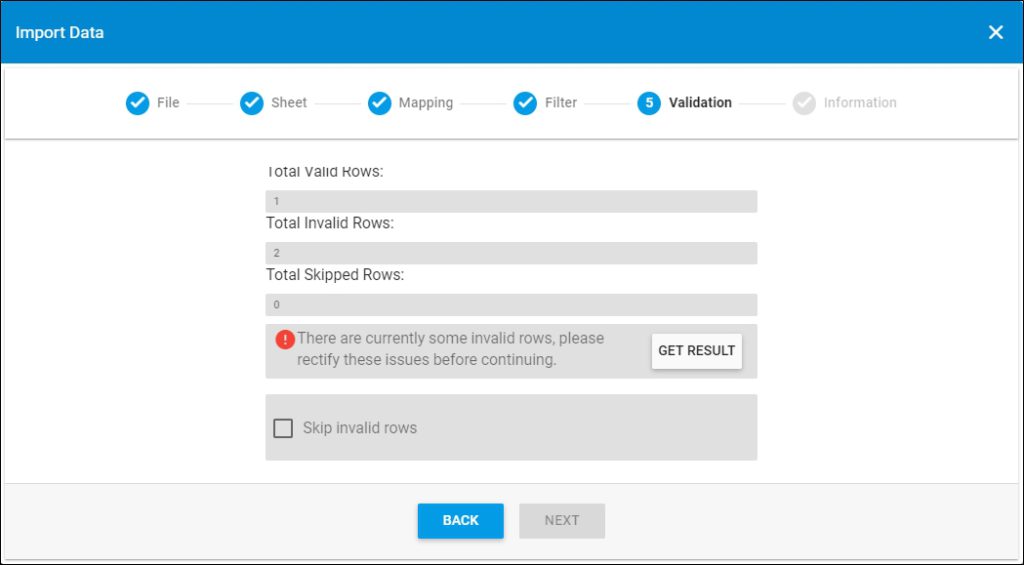
The Next button is activated, and you can import the valid rows.